How I created this Blog with just $20 [2025 Edition]
![How I created this Blog with just $20 [2025 Edition]](/_next/image?url=https%3A%2F%2Fonaqesjswnxzcxiflmld.supabase.co%2Fstorage%2Fv1%2Fobject%2Fpublic%2Fblog-images%2Ffeatured-images%2F0.7068120157019027.png&w=3840&q=75)
Introduction
In this post, I am going to show you how I built my own blog post with a few hours of work and 20$. I am also going to show you how it can be hosted for free and what it could cost in the future if you do want to continue developing it in the future.
Motivation/Goal
I mainly wanted to do this to test the state of the art in the AI Model application space. I have been introduced to various AI based tools over the past month that I wanted to see how useful all of them would be. I will go into depth with some of the tools I used and draw comparisons with competing tools in a future blog post. The AI tools I used in the process are:
- Cursor (Pro mode) - 20$ / month - IDE used for AI assisted code development
- Lovable - Free (5 chat messages/day) - Web-based AI app development and hosting
- Superwhisper - Free - Desktop application to transcribe speech to text
- Claude - Free (with daily token limit) - Desktop/Web application to ask queries to an AI
- Supabase - (Free for personal use) - Web-based application to host your blog content and images
- DiffusionBee - (Free) - Mac app to use StableDiffusion Model to generate images.
I also wanted to create a personal blog of my own that is independent of other platforms (Medium, Notion, Substack etc).
Without further ado, let’s get started shall we?
Starting with Lovable
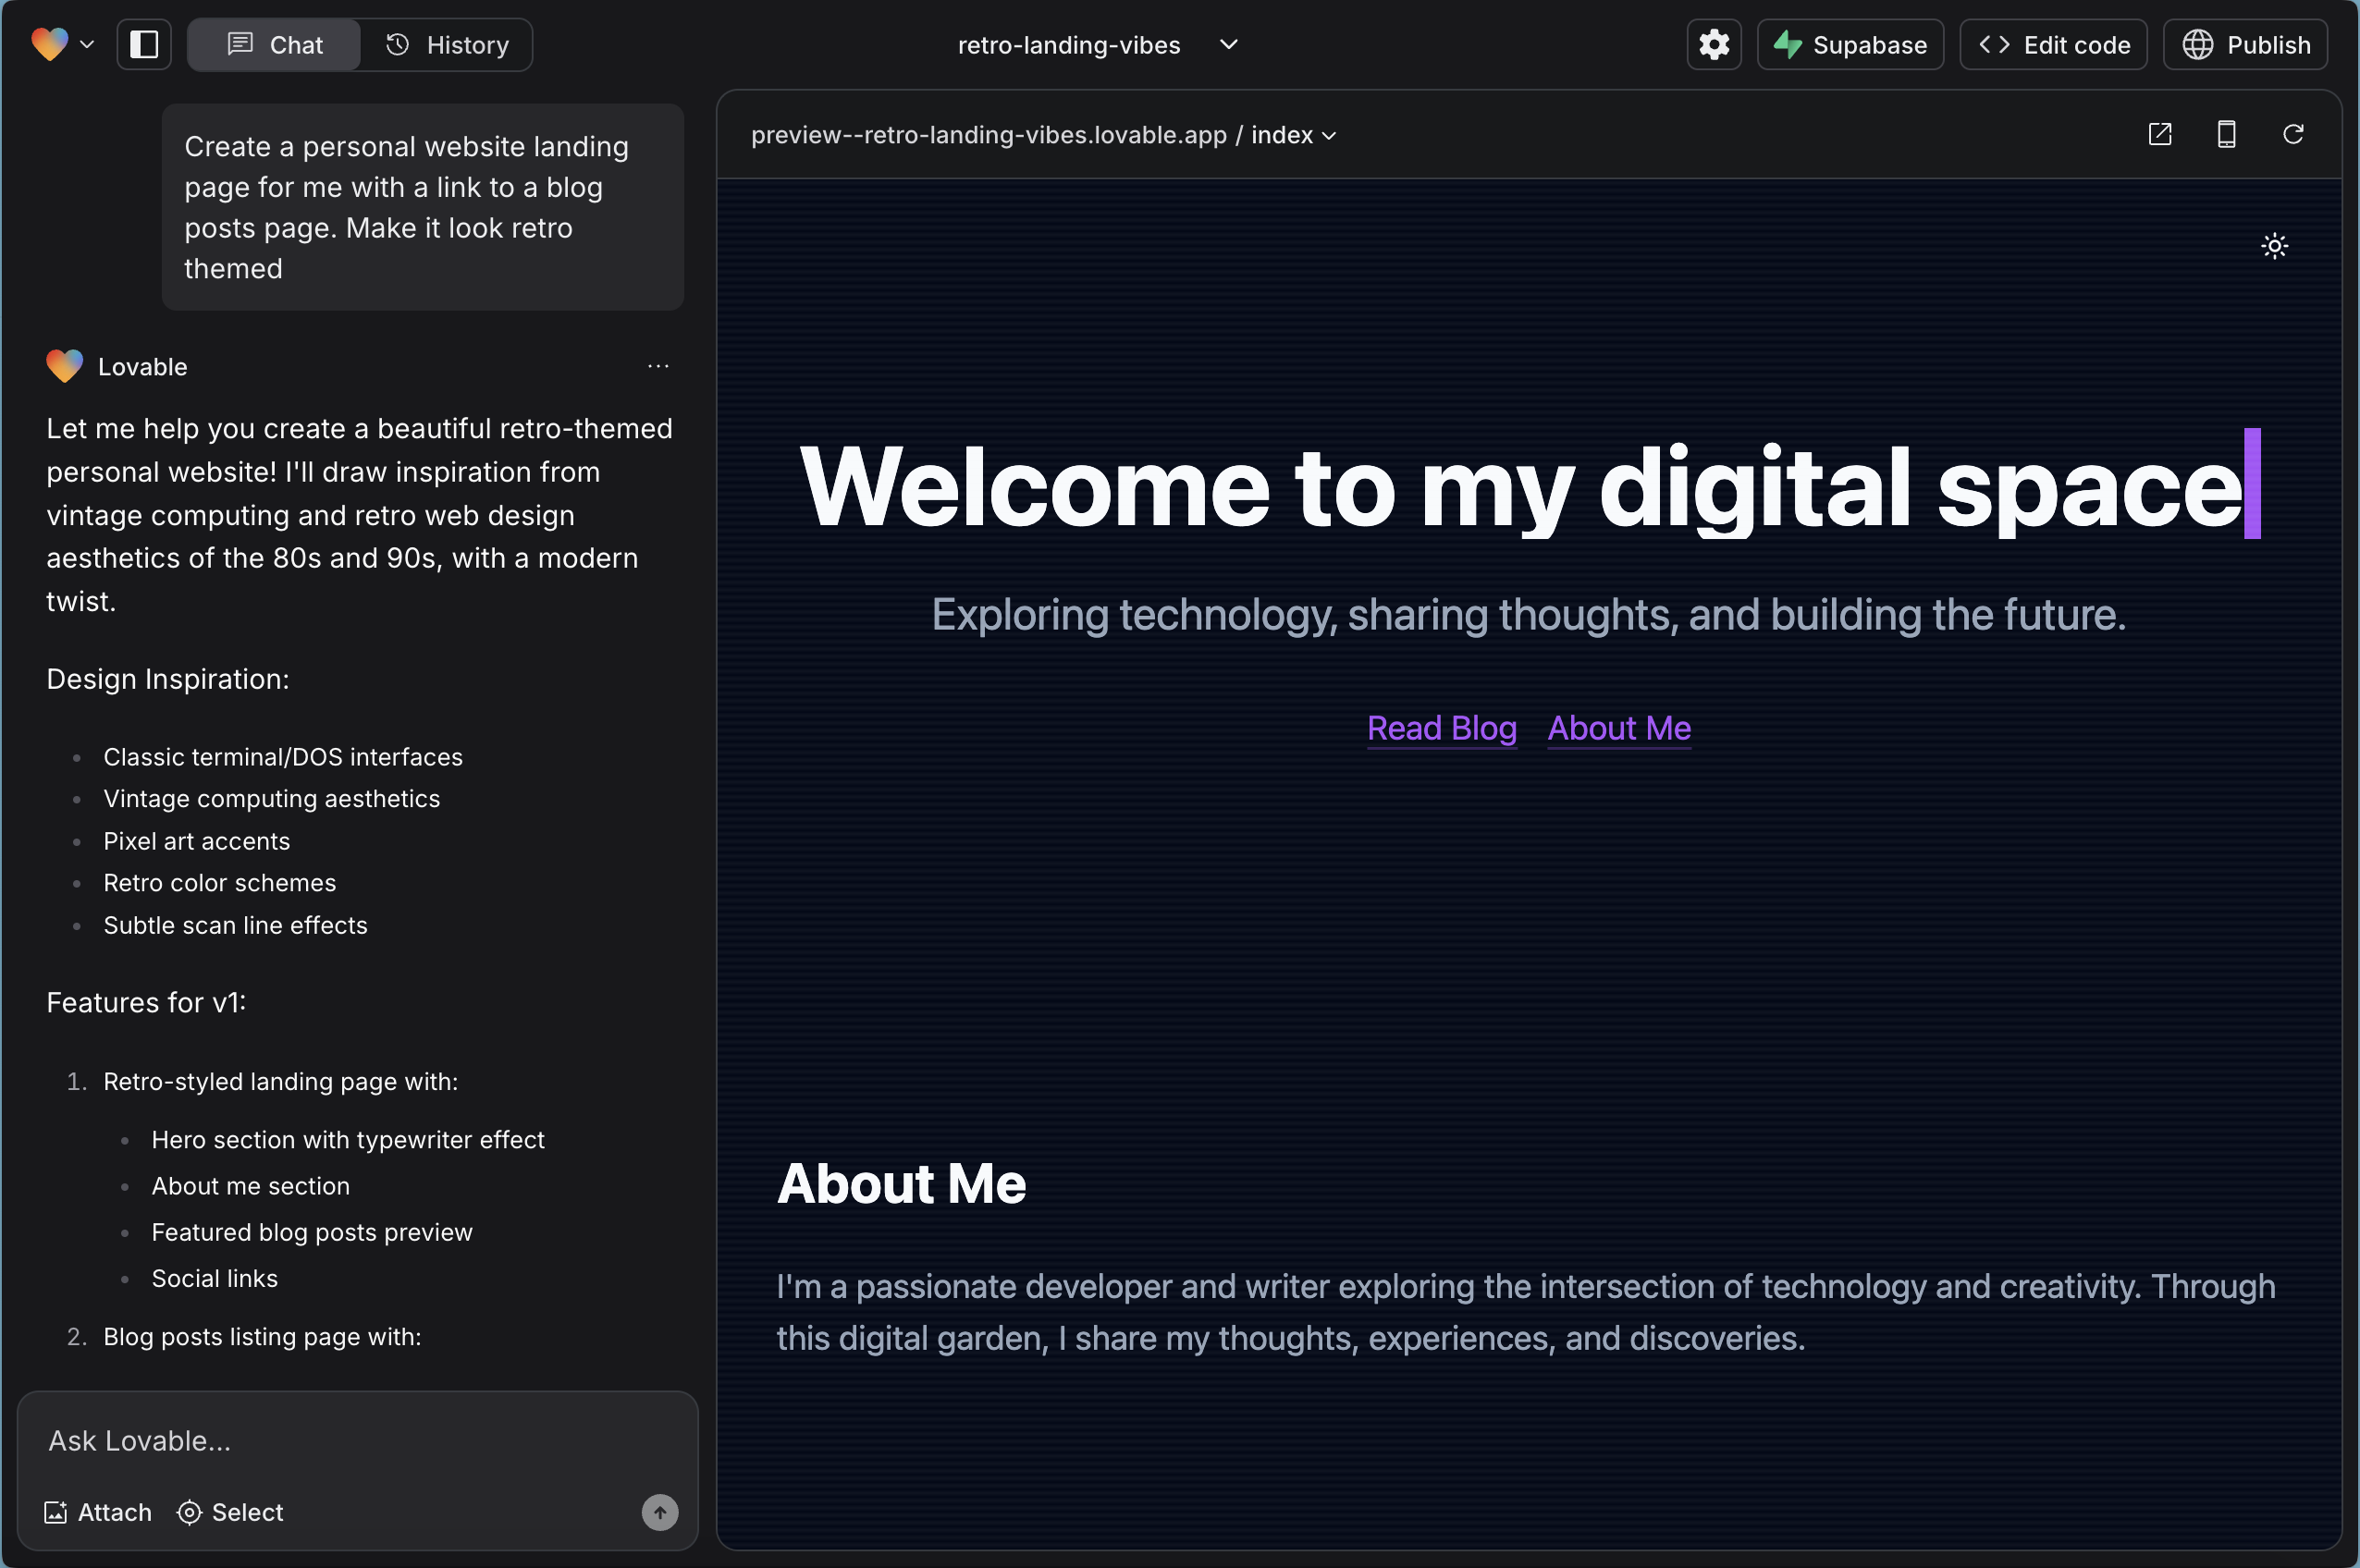
I started with a tool I had seen on Twitter called Lovable that uses an AI model to generate frontend code for building websites. Being a backend engineer, I wanted something that removed the barrier of learning a whole language ecosystem (React and Javascript) to make websites. There is an alternative called v0 offers by Vercel which probably has a larger customer base. Lovable's UI offers an AI chat on the left and a preview screen on the right for the generated website.
I gave it a simple prompt:
Create a personal website landing page for me with a link to a blog posts page. Make it look retro themed.
It started setting up the package and its dependencies and also mentions what elements it is setting up during the process.
Once it finished, I had a landing page with some mock blog posts showing up there and also a link to a blog posts page that was working . This felt like a good starting point. I then asked it
Can you add a light mode/dark mode toggle?
It made the necessary changes to add it in and I hit my first glitch here. When I clicked the toggle in the preview, it neither did anything nor was it clickable. I asked it
Debug this issue:
the dark mode toggle is not doing anything currently. Please fix this so that the website's theme colors change when this button is clicked
It again made some changes but I was still left with the same issue. This is when some technical knowledge helps. I asked it
when I try to click it, i am unable to as the hero element seems to be blocking it
While this may seem super basic, the hero element is the big banner-like element that says “Welcome to my digital space”. This seemed to have been laid over the button and hence made the button inaccessible. So the AI immediately recognized this and adjusted the z-index (the depth factor of the element) on the page. I then asked it:
Add this button to the blog posts page as well
It did so and I reached my limit of 5 messages per day! The interesting thing is that it allows you to connect your Github account to this project and push all the code it generated to a private repository. I also noticed that it had an integration with Supabase (which was new to me at the time). This then led me to the next part of building this out.
Working with Supabase
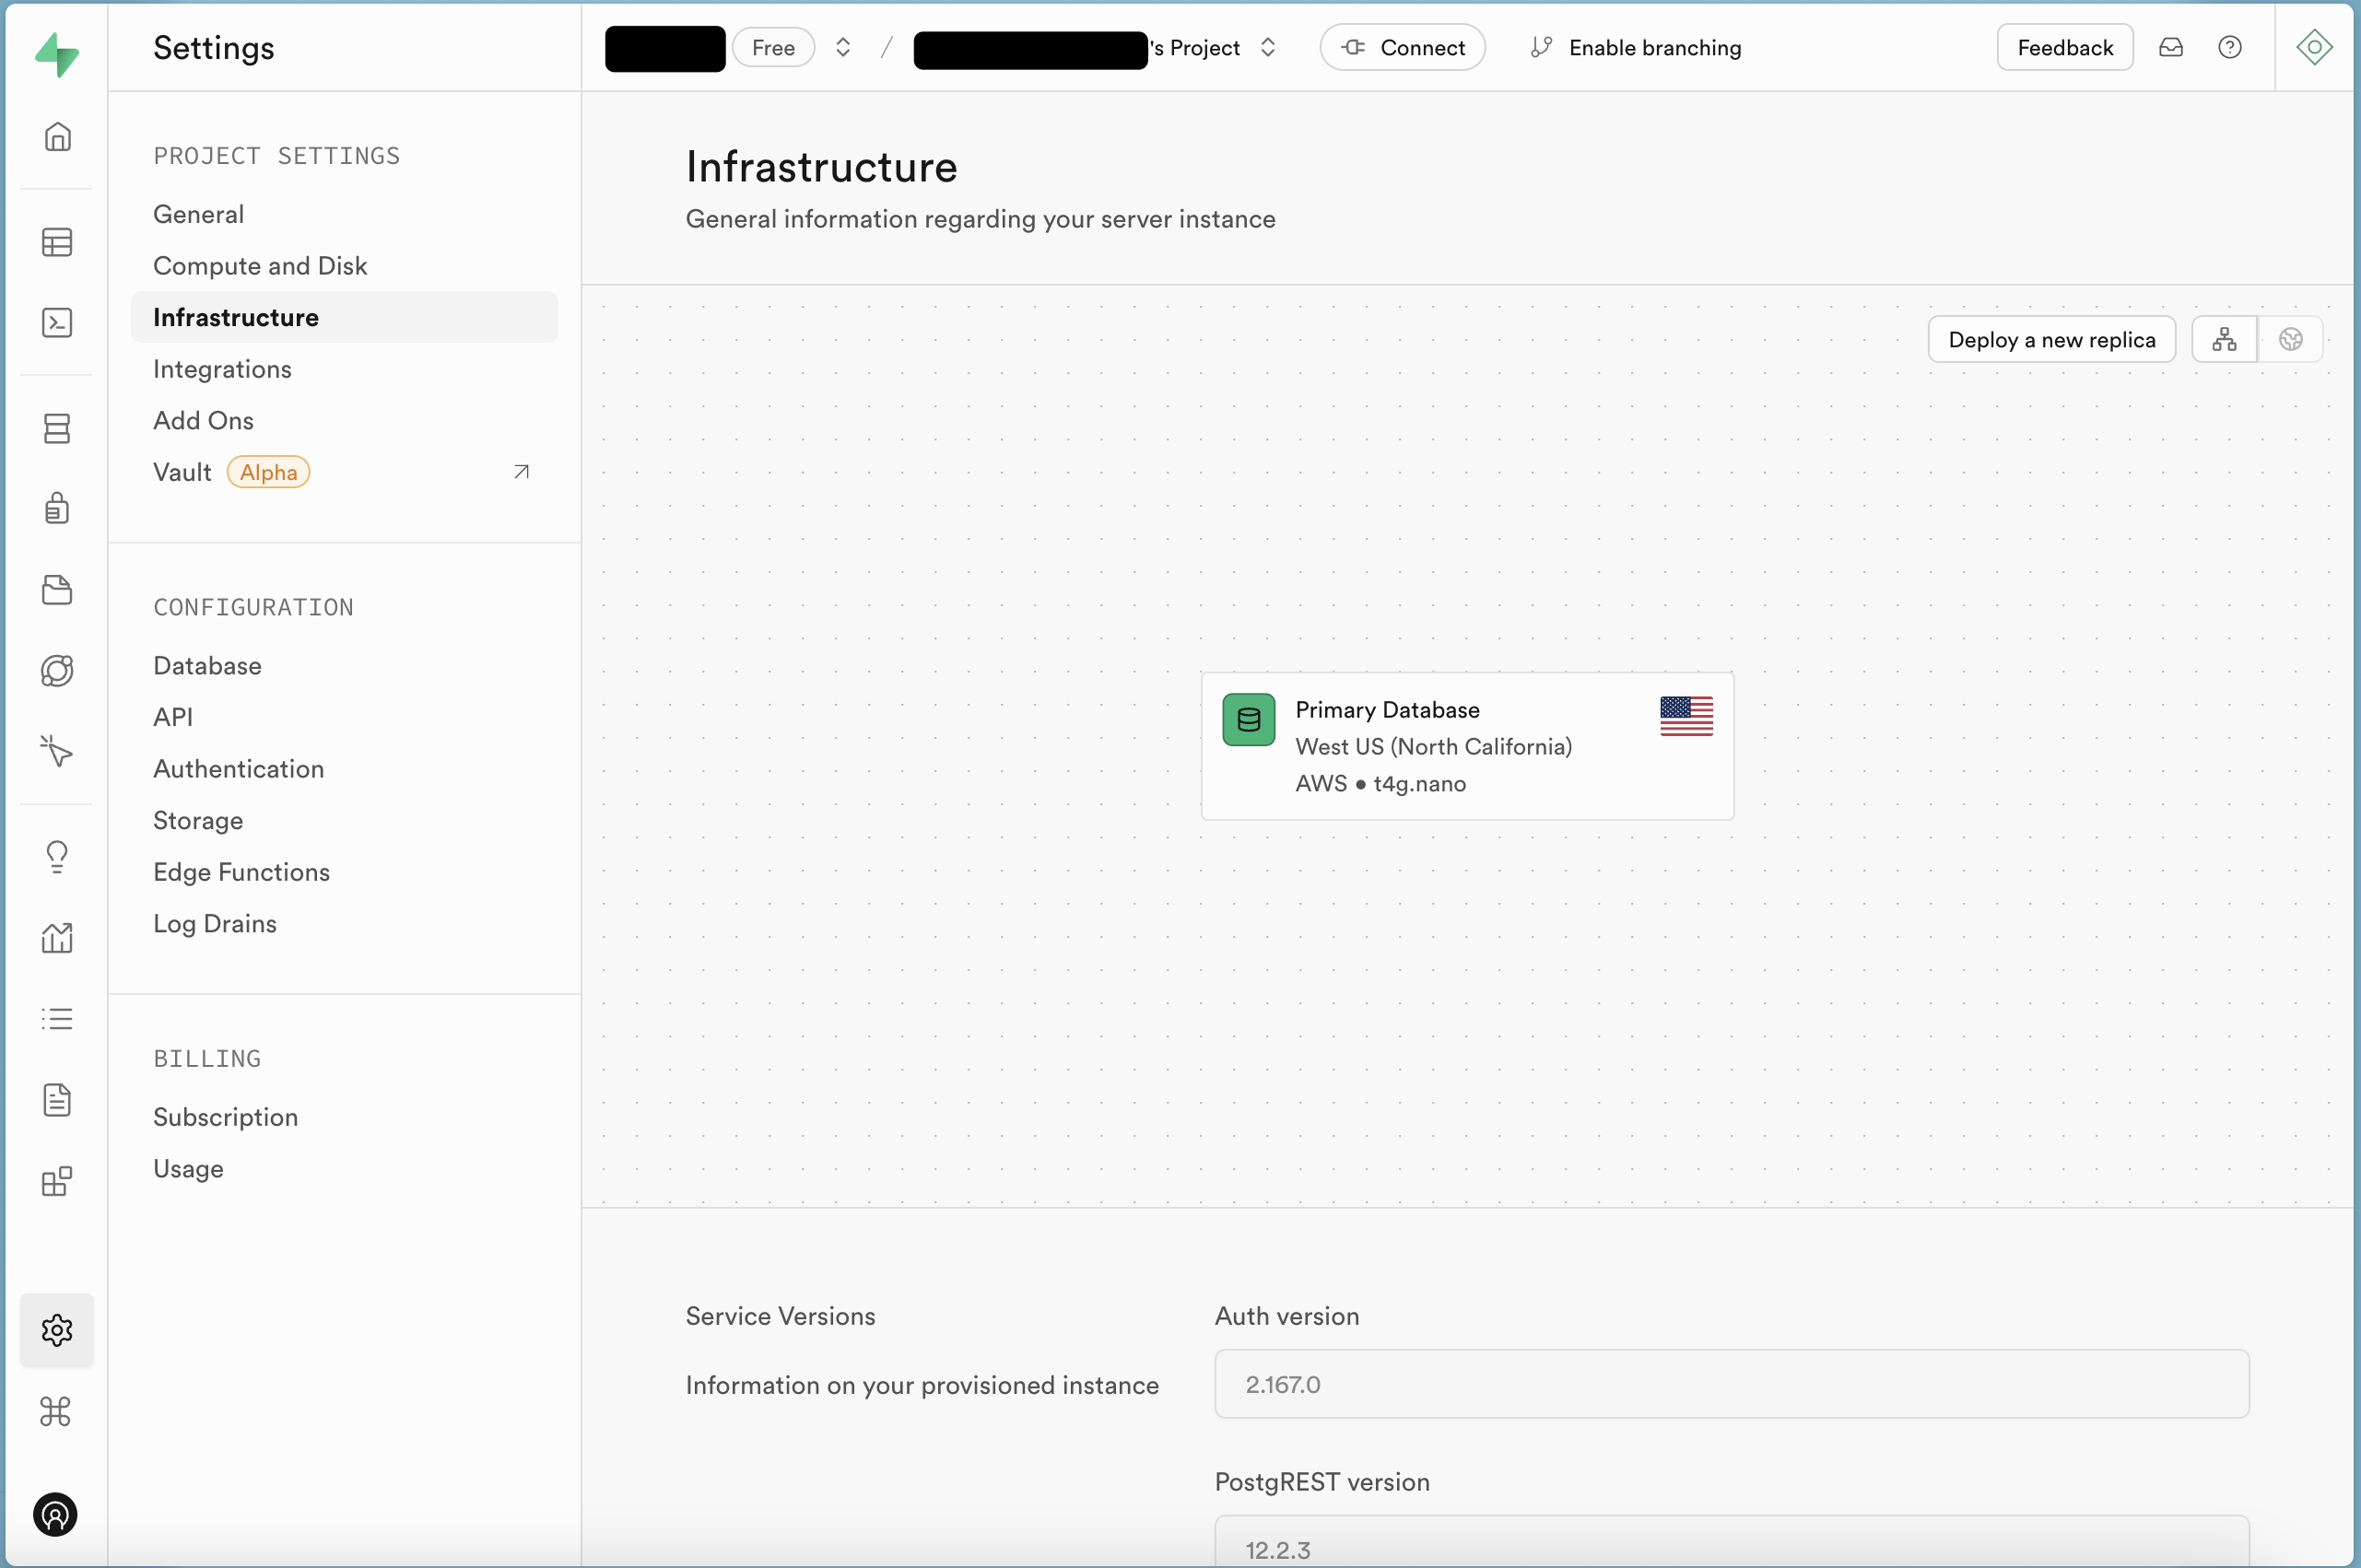
I love abstractions and Supabase is a wonderful platform that abstracts the nitty gritties of interacting with the AWS ecosystem. I created a free account with Supabase and setup a project there. It sets up a compute instance (t4g.nano) with a database (PostgresDB) It gives you an API endpoint (REST API) to connect to for database queries/mutations. It also offers an object storage to store files, images etc. I would probably explore all these in technical depth in a future blog post.
Continuing in Cursor
I pulled the GitHub repo down to my laptop and opened it in Cursor. Cursor is a fork of VSCode and provides four main things:
- Chat - Connections to Anthropic and OpenAI’s models like Claude Sonnet 3.5 and o1-mini or o1-preview (and a few others) to allow you to chat with them to write code.
- Apply changes - A custom model that allows Cursor to interact with your code base and CLI to apply changes that the chat feature suggests.
- Inline code suggestions to predict what will come next as you type
- Debug with AI - a feature to debug issues that are highlighted in the code
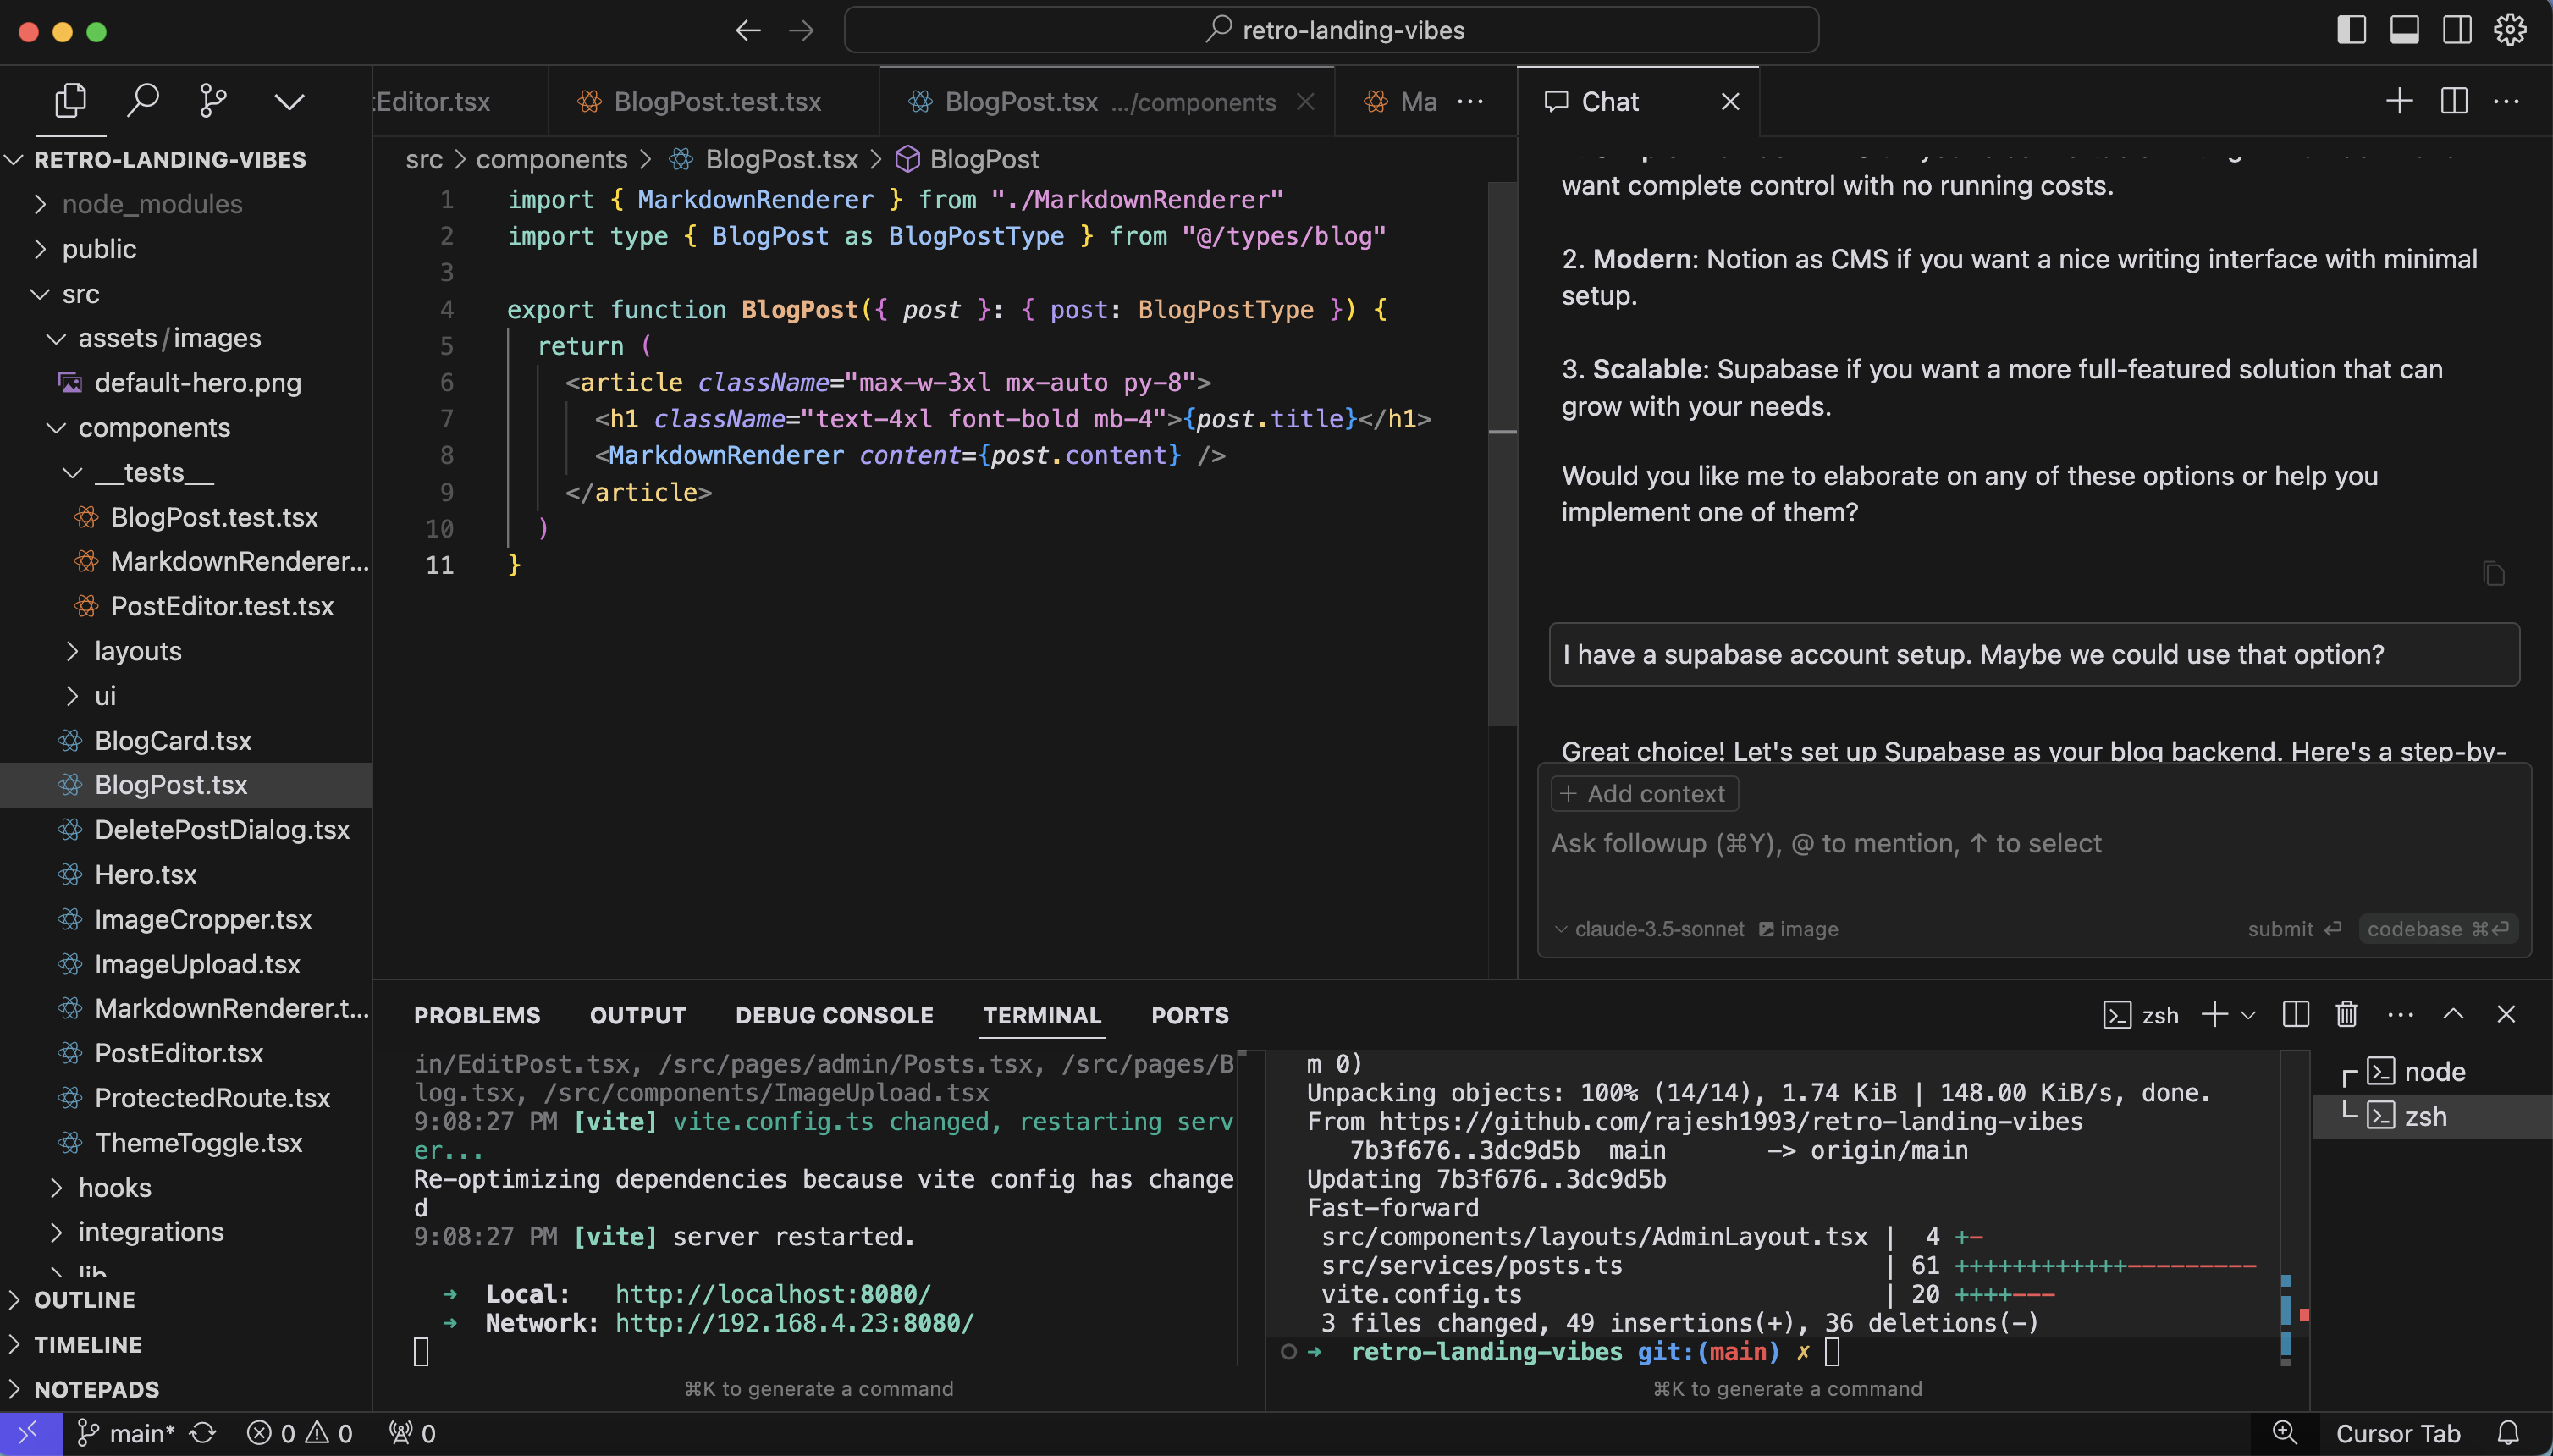
Throughout this exercise I used the Claude 3.5 Sonnet model via the Chat interface. I will leave you the reader to go through the prompts I used to build it. I have attached a link to an export of the entire chat I had with Cursor. Going into the details may be too long and unnecessary but learning what works and what doesn’t can be a useful proxy.
Learnings from Cursor’s model behavior
Learning #1: Make the model understand what the code package does and remember it.
I started with a prompt:
@Codebase What does this package do
It responded correctly stating that it is a React + TypeScript project using Vite as the build tool, with a comprehensive UI component library and went into the details.
I then told it:
This is a project for me to host my personal website and blog. Remember that.
I am unsure of how the memory of the model works internally but giving this context to it helps with subsequent prompts.
Learning #2: Before diving into code implementation, ask for options for a high level design
It can be as simple as:
I want to setup the blog post backend. Give me some options.
This provides you a set of options that range from simple to complex and the model provides the pros and cons of each option. This is very similar to how it works when I have to write a technical design document for work. I noticed it suggested Supabase as a complex option that scaled well. Since I had already setup a project in Supabase, I chose this option. It then started providing code snippets to start implementation.
Learning #3: Provide context on what machine you are working on
Although I did not do this in my case, it helps to provide context at the very beginning to allow the model to generate CLI commands that work with your manchine’s operating system (Windows/Linux/MacOS).
Learning #4: It does not tell you what to do with commands that need to be run in third-party services by default
For example, I got a set of SQL code with a heading as Create the Supabase table:
create table public.posts (
  id uuid default uuid_generate_v4() primary key,
  title text not null,
  slug text not null unique,
  content text not null,
  excerpt text not null,
  published_at timestamp with time zone default timezone('utc'::text, now()) not null,
  reading_time integer not null,
  tags text[] default '{}'::text[] not null,
  featured_image text,
  created_at timestamp with time zone default timezone('utc'::text, now()) not null
);

-- Enable RLS
alter table public.posts enable row level security;

-- Create policy
create policy "Public posts are viewable by everyone"
  on public.posts for select
  using ( true );
If you do not know anything about Supabase or databases or SQL for that matter, then creating this table might be hard. Of course, you could ask it for instructions to do so but it does not give them to you by default. A mitigation could be to mention this at the beginning and make it remember it.
Learning #5 - Always commit your changes before working on new features/improvements. Use feature branches if possible
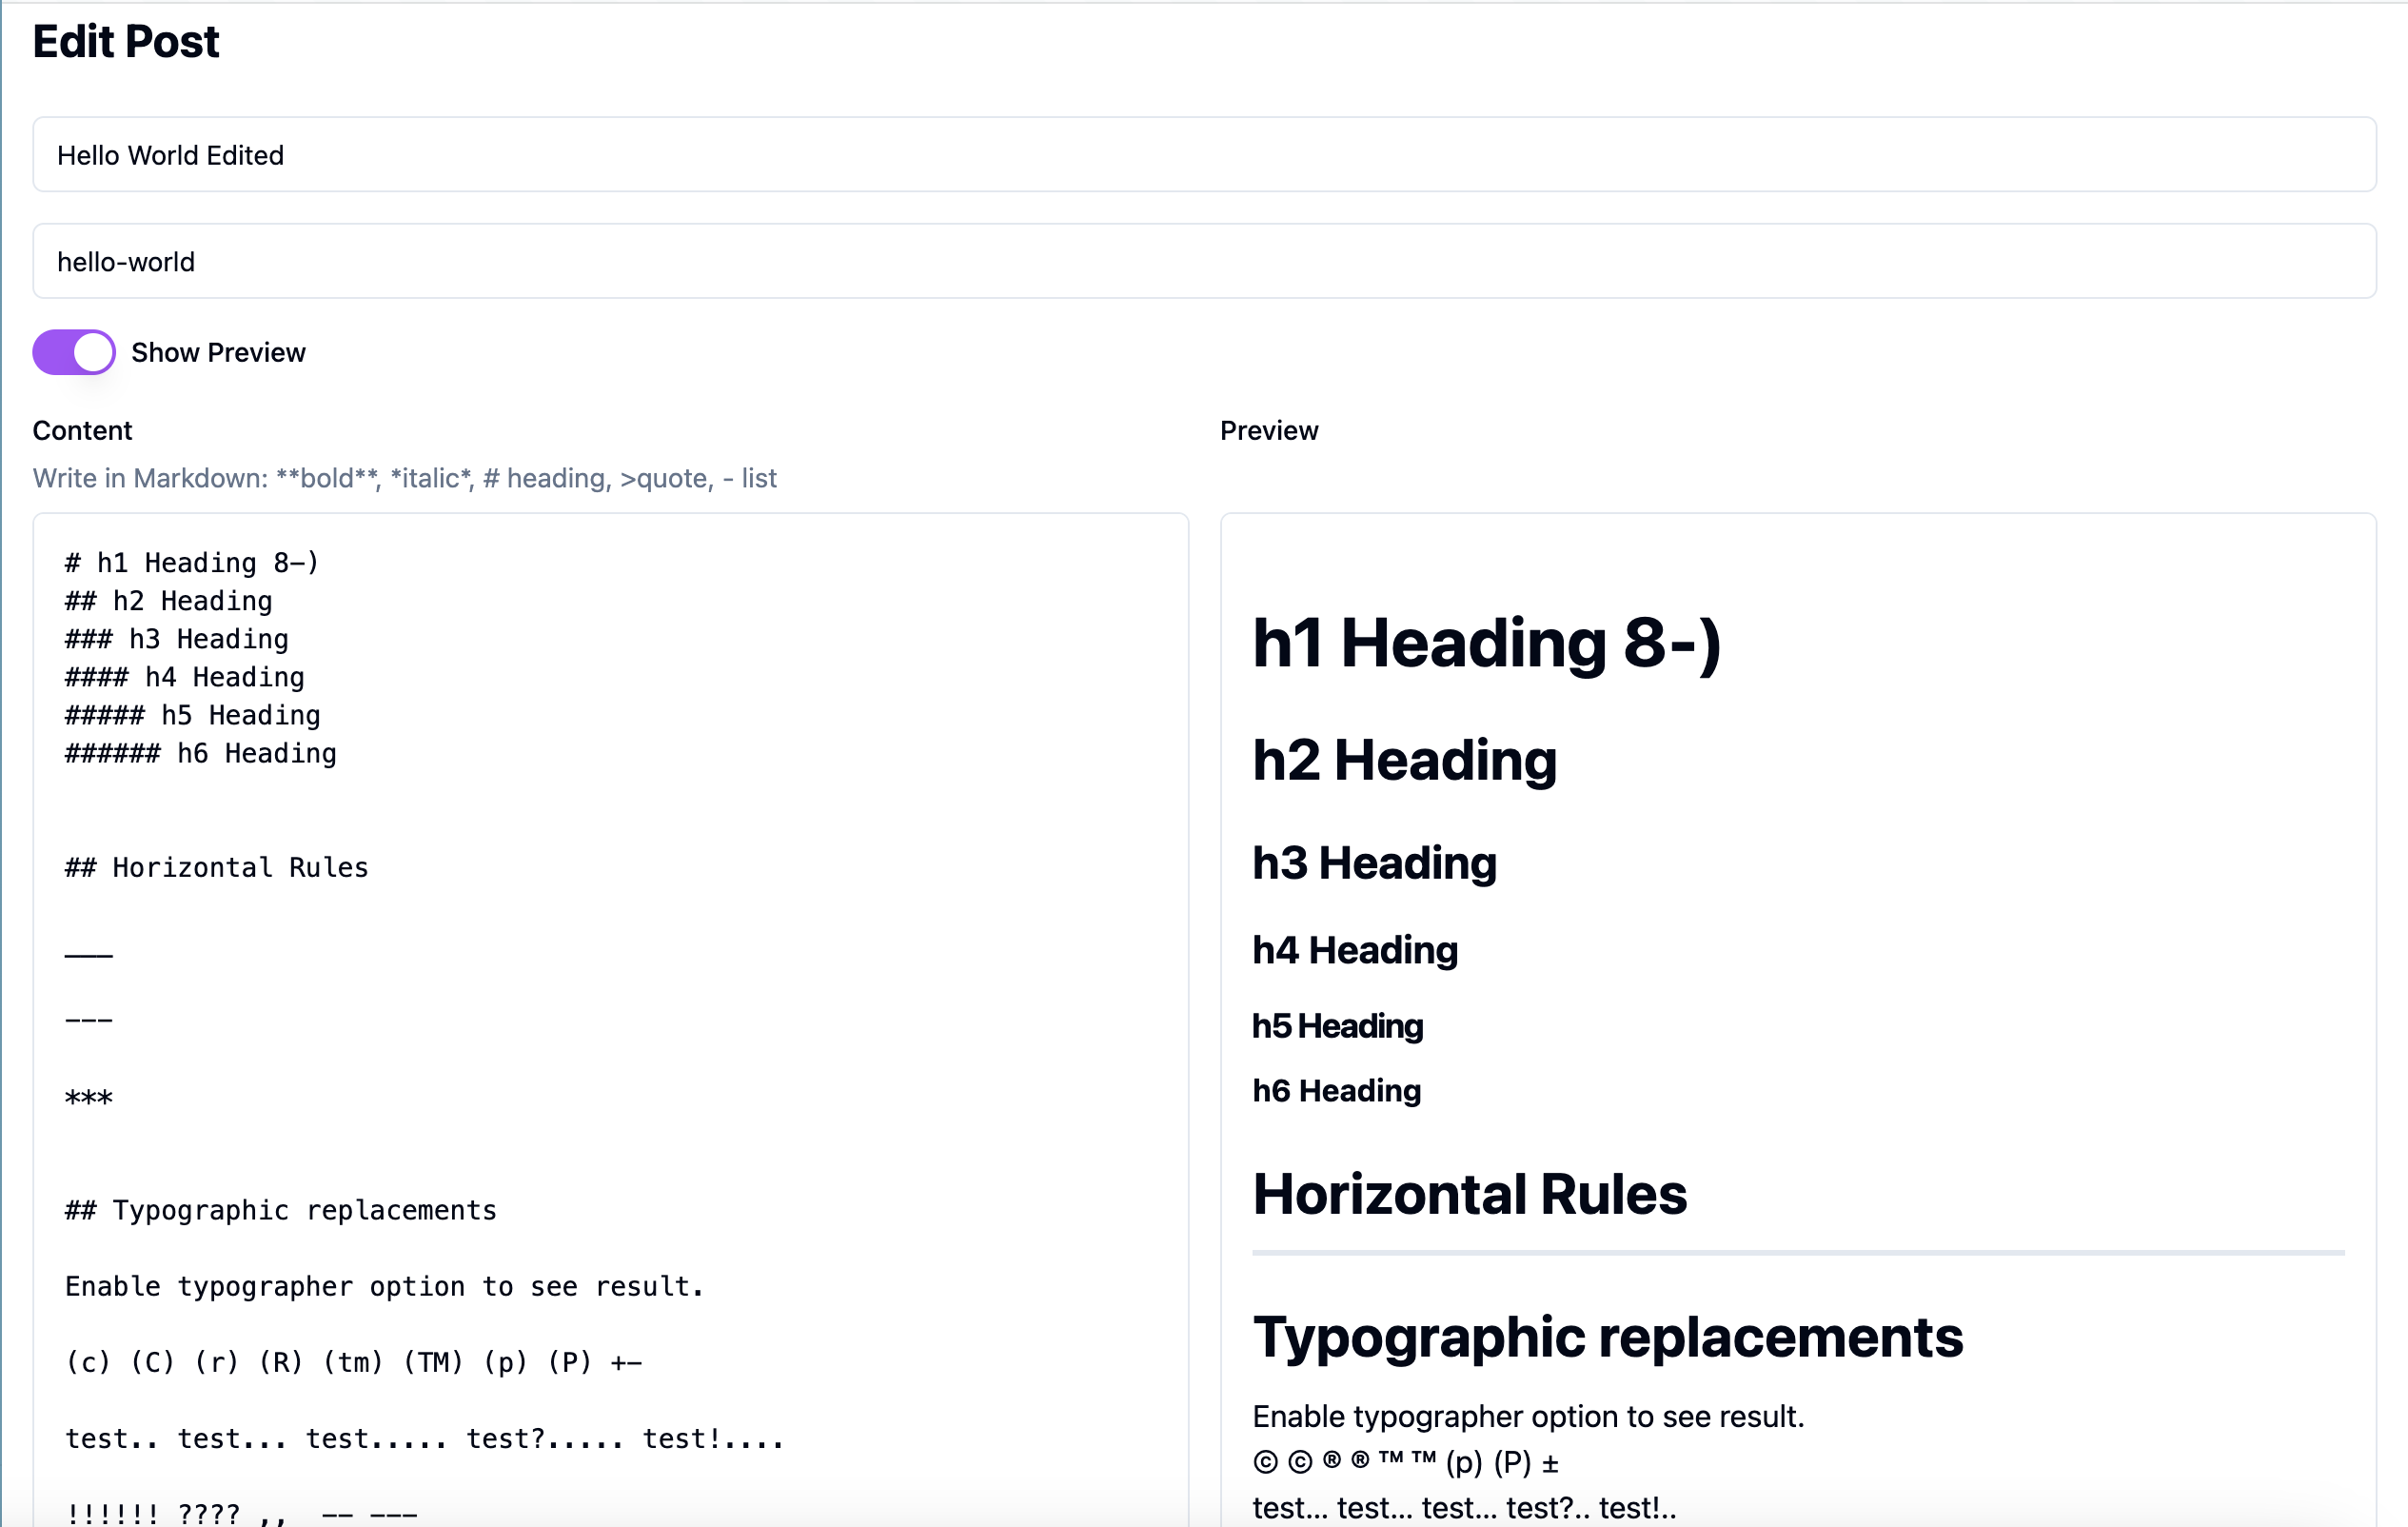
When I wanted Markdown support for writing content in the post submission page, the model used MarkedJS to implement the functionality. This decision led to several issues with rendering markdown correctly for different types of text (Eg: tables, code snippets etc). Fixing the errors that came up were also not easy as the model would fix one type error and then that would cause additional errors. It would also miss adding imports at times when it makes these fixes.
All this led me to see if there was another Markdown library that I could use and I landed with Markdown-It. I did not face many issues with this library and was able to successfully implement the preview mode. But, this switch was made wasy because I was working off a seperate branch for preview mode and all I had to do was abandon that branch and start off from where I was before preview mode.
Pro Tip 💡
A good practice here would be to create a new branch to check in all the changes it does for this new feature. To create a new branch, you can run the following command: Eg:
git branch checkout -b preview-feature
and then make commits to this new branch as you go on developing the feature.
Learning #6: Ask it for an execution plan when creating a new feature
For example, I wanted a preview mode feature to be able to see how my input would be rendered in the final blog post. I prompted
Can we have writer mode support markdown? Ensure that the changes to our convertor function from html are also updated. Do this in an iterative manner by first telling me the steps. Do not change any code yet
It gave me an execution plan:
1. Initial Setup
...
2. Converter Functions Update
...
3. UI Updates
...
This helped me confirm that the path it is going down is right and allows me to proceed in an iterative manner as I can test each step individually and commit my code as we go along.
Learning #7 - The AI model has been trained on code that used different versions of the same dependency
This one is a more intricate finding. When the model uses external dependencies like the Markdown renderer for example, it gets confused as to certain configurations or types or syntax that are no longer present in the current version. Example:
marked.setOptions({
    gfm: true,
    breaks: true,
    pedantic: false
	smartLists: true // This config option is from an older version
  })
Object literal may only specify known properties, and 'smartLists' does not exist in type 'MarkedOptions'.
I suspect this because the model’s training data might have code bases that used different versions of the dependency. Fixing this issue is more nuanced as you cannot ask the model itself to solve this issue. You will need some help from StackOverflow or Google :)
Going back to Lovable
Finally, after I pushed all my commits to the GitHub repo, Lovable automatically picks them up and updates its deployment. I had to make some minor fixes through the Lovable UI to fix the connection to Supabase as it was not using the environment secrets correctly.
Bonus: Using SuperWhisper to talk to AI through chat interfaces
As you noticed earlier, I mention a tool I used called SuperWhisper. If you noticed the prompts in this post, there are some that are verbose. It may be faster and easier for the developer to speak these out and have it be pasted into the textbox automatically. This is exactly what SuperWhisper can be used for.
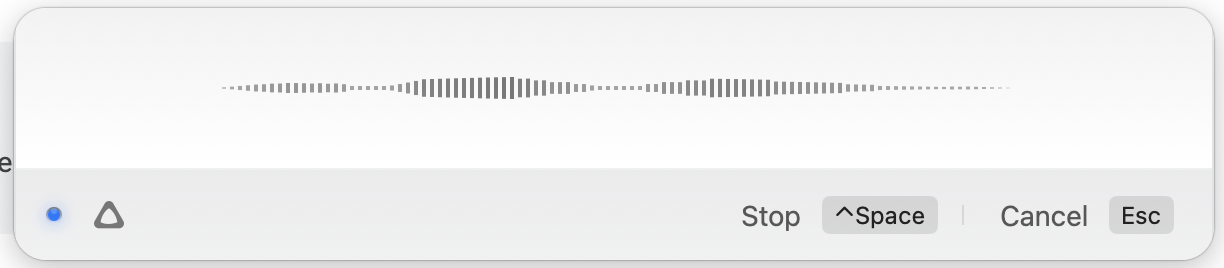
I invoke it using Ctrl+ Space on Mac and talk through the mic and voila it transcribes that and pastes it into the chat window of Cursor. Makes it super handy!
Bonus: Generating Blog Images Using DiffusionBee
I wanted a default image to be placed on my blog page in case an image fails to load from Supabase. I used DiffusionBee to generate an image with the following prompt:
cartoon style not found image with a robot battle scene in new york
and I got this:
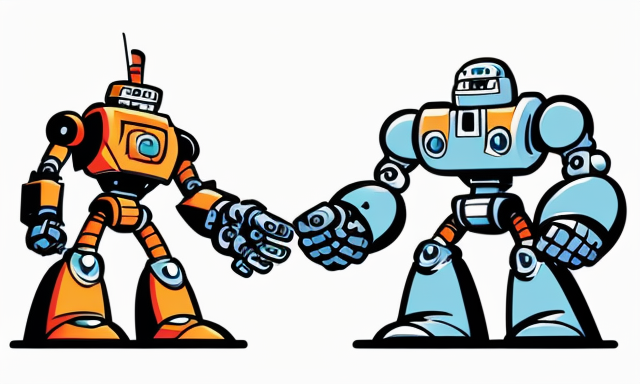
Yay or nay? 😃
Future improvements
I will need to test how this scales as I write more content. I have a few open questions to solve:
- How many posts will this scale to under the free tier?
- What length can each post be?
There is flexibility in increasing the type of instance in Supabase to scale horizontally and vertically. You can also create Read Replicas to scale horizontally.
If you have come this far, thanks for reading!